Cleaning the Morgan Wheels
I had been putting off the annual 'Wheels Off' cleaning of the Roadster 100's Wire Wheels but yesterday I decided to begin by removing the front ones.
Having purchased my new Lionel Roberts Wheelwidget Spinner Tool and a new Breaker Bar & Socket, I began.
Lionel at: wheelwidget@hotmail.co.uk
Tel. (+44) 7947 712427
Link to my Wheelwidget Blog Page
I did try to remove the Spinners a while ago with limited success. I had loosened three spinners then but the fourth Front Wheel would not budge, with the wheel spinning on the garage floor. With no assistant available yesterday to operate the brakes I resorted to the Mallet for the first movement of that one.
The Lionel Taylor Spanner and Breaker Bar.
The Close View.
My Spanner was one of the Early Prototypes, thus the missing metal near to the 'S'.
It is made from High Grade Aircraft Aluminum.

The Offside Front Spinner in the 'Undo' position.
And, In the Tightening Position.
With the car up on its Axle Stands, as soon a both wheels were removed, it was obvious that I had long neglected checking the condition of my Main Spring and Bump Spring Gaiters.
Before I remove them it is worth saying that most owners, who use Gaiters, only use a set of the lower Bump Spring Gaiters designed and supplied by Morgan Owner, Dave Wellings.
Back in 2013, I posted this topic (Link Below) in my Blog which clearly indicated how both sets of Sliding Pillar Springs are subjected to Road Dirt Ingress shortening the life of the King Pins and the associated Bearing Bushes.
https://www.blogger.com/blog/post/edit/3562066813132360850/8545442149225743290
The Lower Bump Spring Gaiters featured in that posting are the same ones still on the car today and embarrassingly in need of renewing.
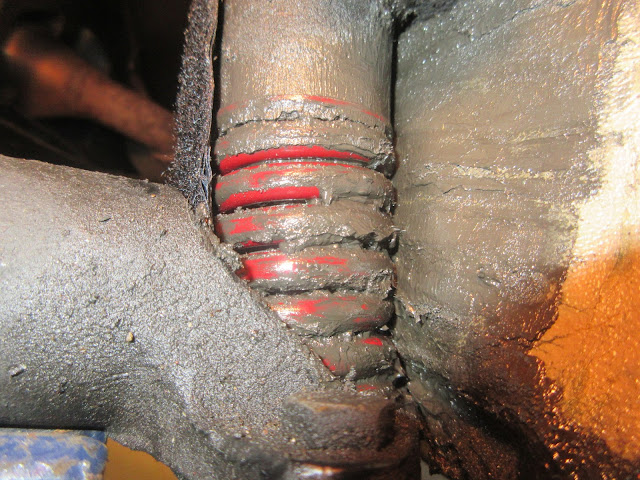
The Nearside Bump Spring Gaiter
The Offside Bump Spring Gaiter
Both are covered in excess grease, after 7 years of not being removed or replaced. The old used grease has seeped under the base and crept up the outside of the cover grabbing road dirt over the miles.
The Nearside Gaiter showing the build up of discarded used grease on the inside.
The Offside Gaiter with a similar build up of old grease.
Because the Car is on its Axle Stands at the moment the Bump Springs are at maximum compression.

Both Bump Springs can be seen here as I peel the Gaiters back from the springs.
After a quick wipe over.
I need to wait until the car is off of the Jack again before I can give the spring and the surrounding area a good clean once it is fully opened.
I also need the spring to be fully open before I can fit the new Gaiters
The fully open spring.
Now I need to make the new set of Gaiters.
Here is a copy of the original Gaiter Design
As I also said, in my previous blog, the excellent video here shows how the gap between the top of the bump spring extends during driving by approximately 1 inch.
I decided to make the new set of gaiters 1/2 inch longer than the old ones.
I made my gaiters using materials from an old Computer Laptop Bag. Here is the white paper pattern extended at the top edge.
Above are the cut pieces - Two pieces from the stiff outer fabric and two pieces of simulated leather from the lining.
The recycled Velcro strip I have is too wide.
I normally use 1/2 inch wide, Non Adhesive, Velcro Strip but this one is 3/4 inch wide so I will cut it in half along the center.
'Non Adhesive' is important as any adhesive on the Velcro will just clog the sewing needle causing thread snapping.
Here the two cut parts are sewn together.
The inner and outer view.
When the gaiters are fitted onto the car it is essential that the wrap over of the closed edges faces to the rear to prevent ingress of water and road dirt. Therefore, because of the Asymmetrical shape, it is essential to make both a Left and Right Wrap Gaiters.
The Hook Strip sewn on, to face outward.
The Loop Strip sewn on, to face inwards.
The completed Gaiter ready for fitting.
The Completed Pair.
The Offside Gaiter above with the Near Side Gaiter below.
At this point, it is worth saying that just making the Gaiter longer did not work this time and they would not fit under the Sliding Pillar Lug. I reduced the length back to the original length and will have a re think how to make a flexible version later.
The new Near Side Gaiter in place with the wrap over just visible to the left of the photo.
I will check on its progress after a few journeys to ensure that it has not moved and that the Velcro has held closed..
The Upper Spring Gaiters have been on the car from new in 2009 and have never been removed.
I decided to take them off and see how they have faired with all of those hundreds of compressions.
With the spring extended they look too short but they spend most of their lives compressed.
One very crumpled Gaiter indicating that the concertina effect does work.
One very clean Spring and contents.
The principle of my Gaiter Design is to allow the Gaiter to flex between the blocks of Velcro as the spring undergoes its thousands of compressions.
The 'Waist Strap' aims to ensure that it is compressed from each end and does not end up leaving a gap at the top only. It does seem to work reasonably well.
I made this set of Gaiters some years ago for another Roadster owner of a Series One Car.
It turned out that his upper springs were 'Fatter' than our Series Two Springs so I needed to re measure Girth & Length and remake his set.
I never needed to use them myself so here they are ready for their moment glory.
As they say 'Measure Twice & Cut Once'
To aid the Flexing I have only used a single ply of the Waterproofed Computer Bag fabric.
Because they are 'Square' there is no need to make Left & Right. They just need to be turned in the correct direction when fitting for the overlap to be to the rear to keep the road dirt out.

Here is the new Offside Gaiter fitted with the overlap facing to the rear.
The gap at the base will close up once the car is taken off of the jack and the full weight is sitting on its springs.
Now its back to the Wheel Cleaning.
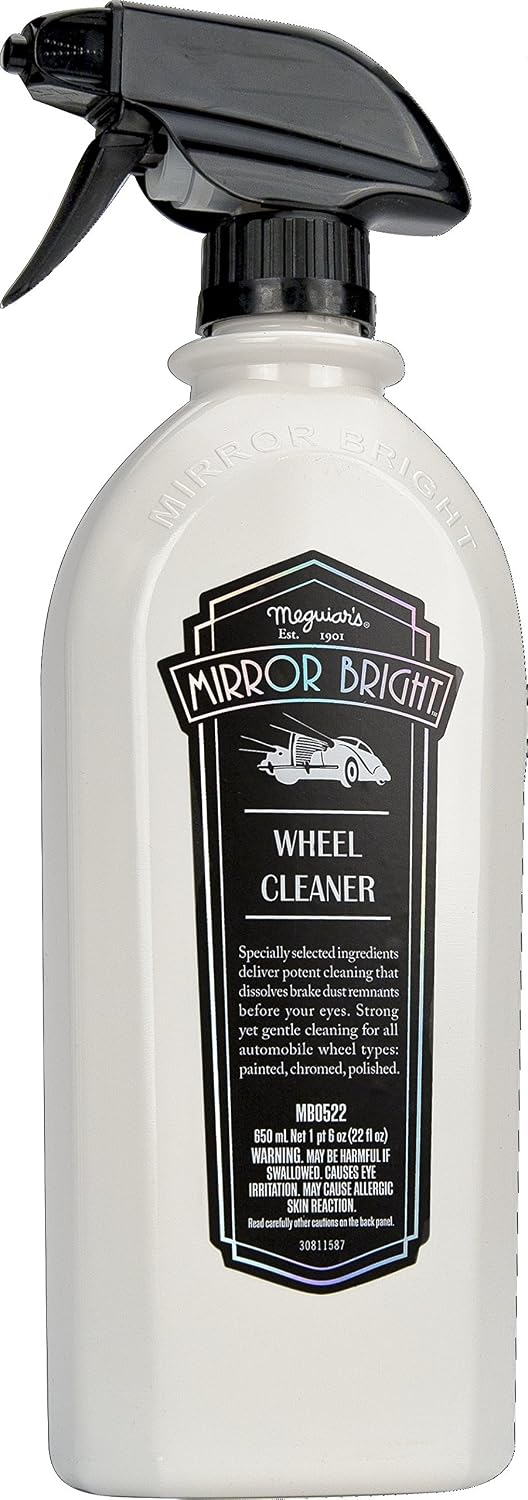
Meguiar's 'Mirror Bright' is the chosen Wheel Cleaner which liquifies dirt and brake dust in seconds.
This decision was influenced by R100 Owner Gerald who's cleaned wheel here shone brightly in the sun.
The product is sprayed over the whole wheel area, including the tyre walls, left for about 5 minutes to work and then washed off with, in my case, Turtle Wax Wash and then dried and polished with a soft clean cloth working between the spokes with the index finger as usual.
I am very pleased with the result above.
I now look forward to getting on with the rear wheels.
Well, Here they are. I am so impressed with the Mirror Bright that it is well worth taking the wheels off to do a proper job.
The Offside Rear Wheel inner edge, washed off with Turtle Wax Wash and dried & polished with soft cloths.
The Nearside Rear Wheel finshed.
The product line up.
While the wheels are off here is a quick check on the condition of the Dave Wellings designed rear wheel Chip Guards.
A Blurred Check on the cleanness new battery that I fitted at the Morgan Factory on the Friday of the Run for the Hills Weekend in August 2017.
The base of the R. Nick Taylor Tool Tray, the rear of drive shaft and the quite close but safe Handbrake Cable Cover.
The Nearside Brake Drum. Both were given a quick blow over with Matt Black spray paint before re fitting the wheels.
Job Done.
Then, now that my new supply of Autoglym High Definition Wax has arrived, I can also finish polishing the Body and then get on with cleaning and treating the leather before cleaning the glass.
Frank


How will you fit that new wrench and socket in the Morgan tool tray?
ReplyDeleteThank you for your interest. I won't bother taking it with me as the trusty Rubber Mallet would have to do if I was unfortunate enough to need a wheel off.
ReplyDeleteHowever, The Nick Taylor Tool Tray has plenty of space should I ever need to take it with me. I would just make another set of Padded Bags and re organise the contents of the tray.
https://franks4x4-solograndetour.blogspot.com/2014/10/if-you-would-like-to-own-r-nick-taylor.html